
People have switched to meat grinders from buying unhealthy and unhygienic grounded meat from the local market. It is indeed a right decision to make healthy meat sitting at home that too without wasting any time and labor. Now, if you have already bought a meat grinder but facing hassles in assembling, do not worry, we are here to help you. We have attached here some measures that you can take to assemble meat grinder.
Meat grinders are of 2 types in general, such as Manual Meat Grinder and Electric Meat Grinder. So, for your ease, we have discussed the assembly of both the meat grinders. If you have any one of them, we hope our tips and tricks can assist you to assemble meat grinder.
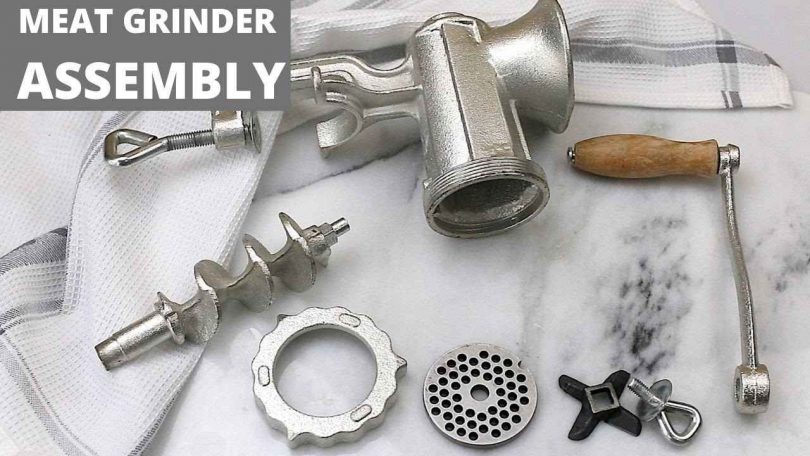
How To Assemble Meat Grinder
Manual Meat Grinder
Manual Meat Grinders are the meat grinders that require manual effort to grind. It is preferred by everyone for its affordability and portability qualities. It does not have as simple assembly as the electric one. But, if you follow the step by step guide mentioned below, you can certainly assemble meat grinder efficiently.

Recognizing Parts
The first step is to make sure you have all the parts with you. The grinder includes a main body, grinding plate, a nut, collar, handle, eye screw, locking ring, cross knife, auger, hopper and handle. The parts should be well cleaned before you start using it.
Placing Handle
The next step is attaching the handle to the main body. Insert the handle into the slot and fix it with feeding screw. It should move freely and watch if it slips or rubs too much. The handle needs to be put again if any of these occur.

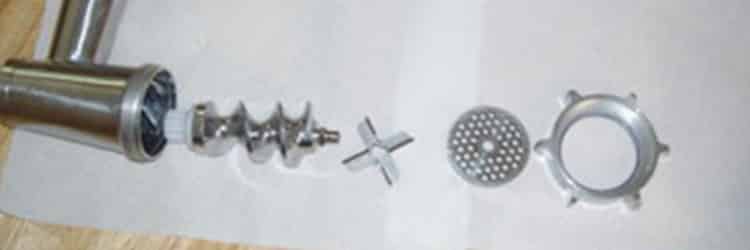
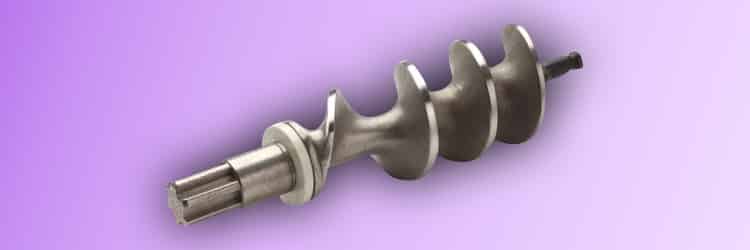
Fixing Auger
The auger is a part like a screw. You need to insert it into the main body and be sure to place it correctly so that it does not move.
Blade Assembly
It is the job of an auger to hold the blades and plates. The plates come in 3 forms: fine, medium and coarse. You can take any one of them as you like. Fix the blade into the auger and then fix the plates. The meat comes out of the plates and passes through the auger and blade.

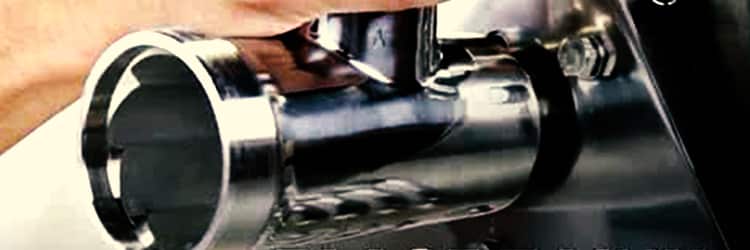
Mounting
The last step is mounting the grinder. Place the grinder on a stable surface and secure its position using wedges. Once the assembly and mounting are done, you can begin to grind the meat.
These steps can only be implemented as a manual meat grinder. To assemble electric meat grinder, the following steps are mandatory:

Electric Meat Grinder
Electric meat grinders are run by an electric motor, and thus it is more convenient than the manual one. Although it costs more, it is worth every penny. The assembly is easy as well. Follow the instructions to assemble this grinder:
Recognize Parts
Just like you understood about the parts of manual grinders, it is imperative to know about electric ones also. It includes pusher, screw, hopper, blade, plate, and cover. All the parts are necessary for grinding.
Placing Head
The head of the grinder should be fixed to the main body. To attach it, press the head in and turn it clockwise. Tighten it properly. Sometimes, these grinders come with a fully assembled head. If it is not fully assembled, take the screw, blade, plate and handle and insert it accordingly.
Placing Hopper
Hopper is the container where you would put the meat for grinding. Take the hopper and keep it over the head.
After the assembly, you can take cube meats, put it in the hopper and push the meat with the help of pusher. This is how you can assemble and use an electric meat grinder.
Do not forget to clean the meat grinder before and after you use it. We use raw meat to grind, that makes the grinder more vulnerable to contamination and diseases. Therefore, always try to maintain it in the best possible way.
Hopefully, now you can assemble meat grinder with ease and perfection.


Leave a Comment